How I Make Speech Bubbles
 Please read the information on the sidebar before starting.
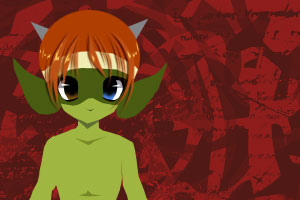
Now, here's the example graphic I'm using. Let's start. Create a NEW LAYER on top of the rest of the layers. Name it "bubble."
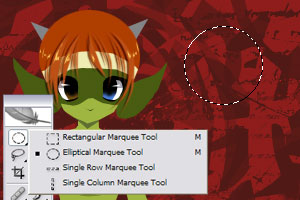 In the layer "bubble," get the Elliptical Marquee Tool. I'm sure you're already familiar with this tool: it draws a circlular selection. Using it, please draw out the basic shape of your bubble.
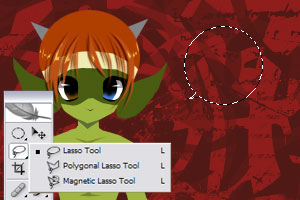 Now to add the "tail" of the bubble. For this, you can use either the Polygonal Lasso Tool or the normal Lasso tool. I use a combo of both, depending on the bubble.
Please be sure whatever tool you use is set to Add To Selection.
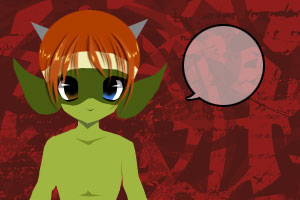
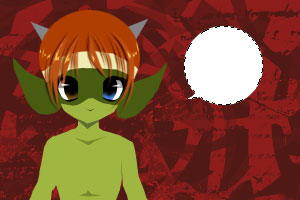 Please make sure that you're on the "bubble" layer, which you originally created in the first step. Now it's time to fill the bubble selection with colour. There are tons of ways to fill a selection, but this is how I do it: set your active colour to white. Then hit Shift+Backspace. It brings up the "Fill" window. Press. OK. After that, you can deselect your selection with CTRL+D.
 You now have your bubble shape. Now to add effects to the bubble, starting off with the border that goes along the outside. In graphics design terms, such a border is called a "stroke." So, let's stroke this bubble!
In the top toolbar, go to Layer -> Layer Style -> Stroke. You should see the Layer Style popup. In that box, fill in these settings:
Size: 2 px
Color: Black
Defaults are fine for everything else.
 Next, we want to make our bubble a bit transparent. However, I like to do this without making the bubble's stroke transparent as well. So instead of setting the normal Opacity, I set the Fill Opacity only. Here's how: in the Layer Style popup, select Blending Options: Default under Styles. Under Advanced Blending, you see Fill Opacity. I set that to 50%.
Note: In the newest versions of Photoshop, you should be able to set Fill Opacity right from the Layers Palette. That's how I do it. :3
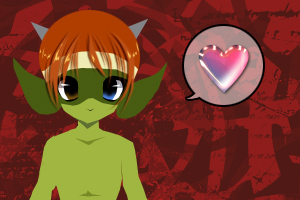 At this point, you can create a new layer on TOP of the bubble layer, and add in whatever text you like. Of course, normally for comics you'd add in some speech. Here, I'm adding in a cheesy shiney heart thing... because, well, it just seems like the thing to do, really. The point is, you can, of course, add in anything you like.
It's finished! :D Easy, right? I hope you found it useful.
Of course, everything in this tutorial can be mixed up a bit to make your own unique bubbles. Change the colour of the bubble fill. Give the bubble a little bevel and emboss, maybe even a drop shadow. Be careful: don't overdo it. There are three golden rules to keep in mind:
• 1. A bubble should never make the text difficult to read, or otherwise detract from the text.
• 2. A bubble should complement the style of the comic and artwork.
• 3. Bubbles themselves should be one of the least-noticed parts of your comic. Why? Imagine you read a novel where tHe EnTIre tHinG wAs tYpED LIkE tHiS -- that would get on your nerves fast! That's because it's form getting in the way of function. In a novel, the focus should be on what the words are saying, not the words themselves. Well, it's the same way with speech bubbles: the reader's focus should be on the speech, not the bubble.
That wraps this up. If you got lost, or confused, I'd love to help you in the Forum, so please drop by and leave a note. I'd prefer it if you did not email me, since I'm lame at answering email and I might get pissy if you try and make me :D
Thanks for reading!
Back to Extras
Back To Home! :D